
DIY Security Camera Installation: A Step-by-Step Guide for Elkins Park Homeowners


Installing a security camera system in your Elkins Park home can be a rewarding DIY project. Not only does it enhance your home security, but it also provides peace of mind. Whether you are tech-savvy or a beginner, this step-by-step guide will walk you through the process of setting up your own security cameras.
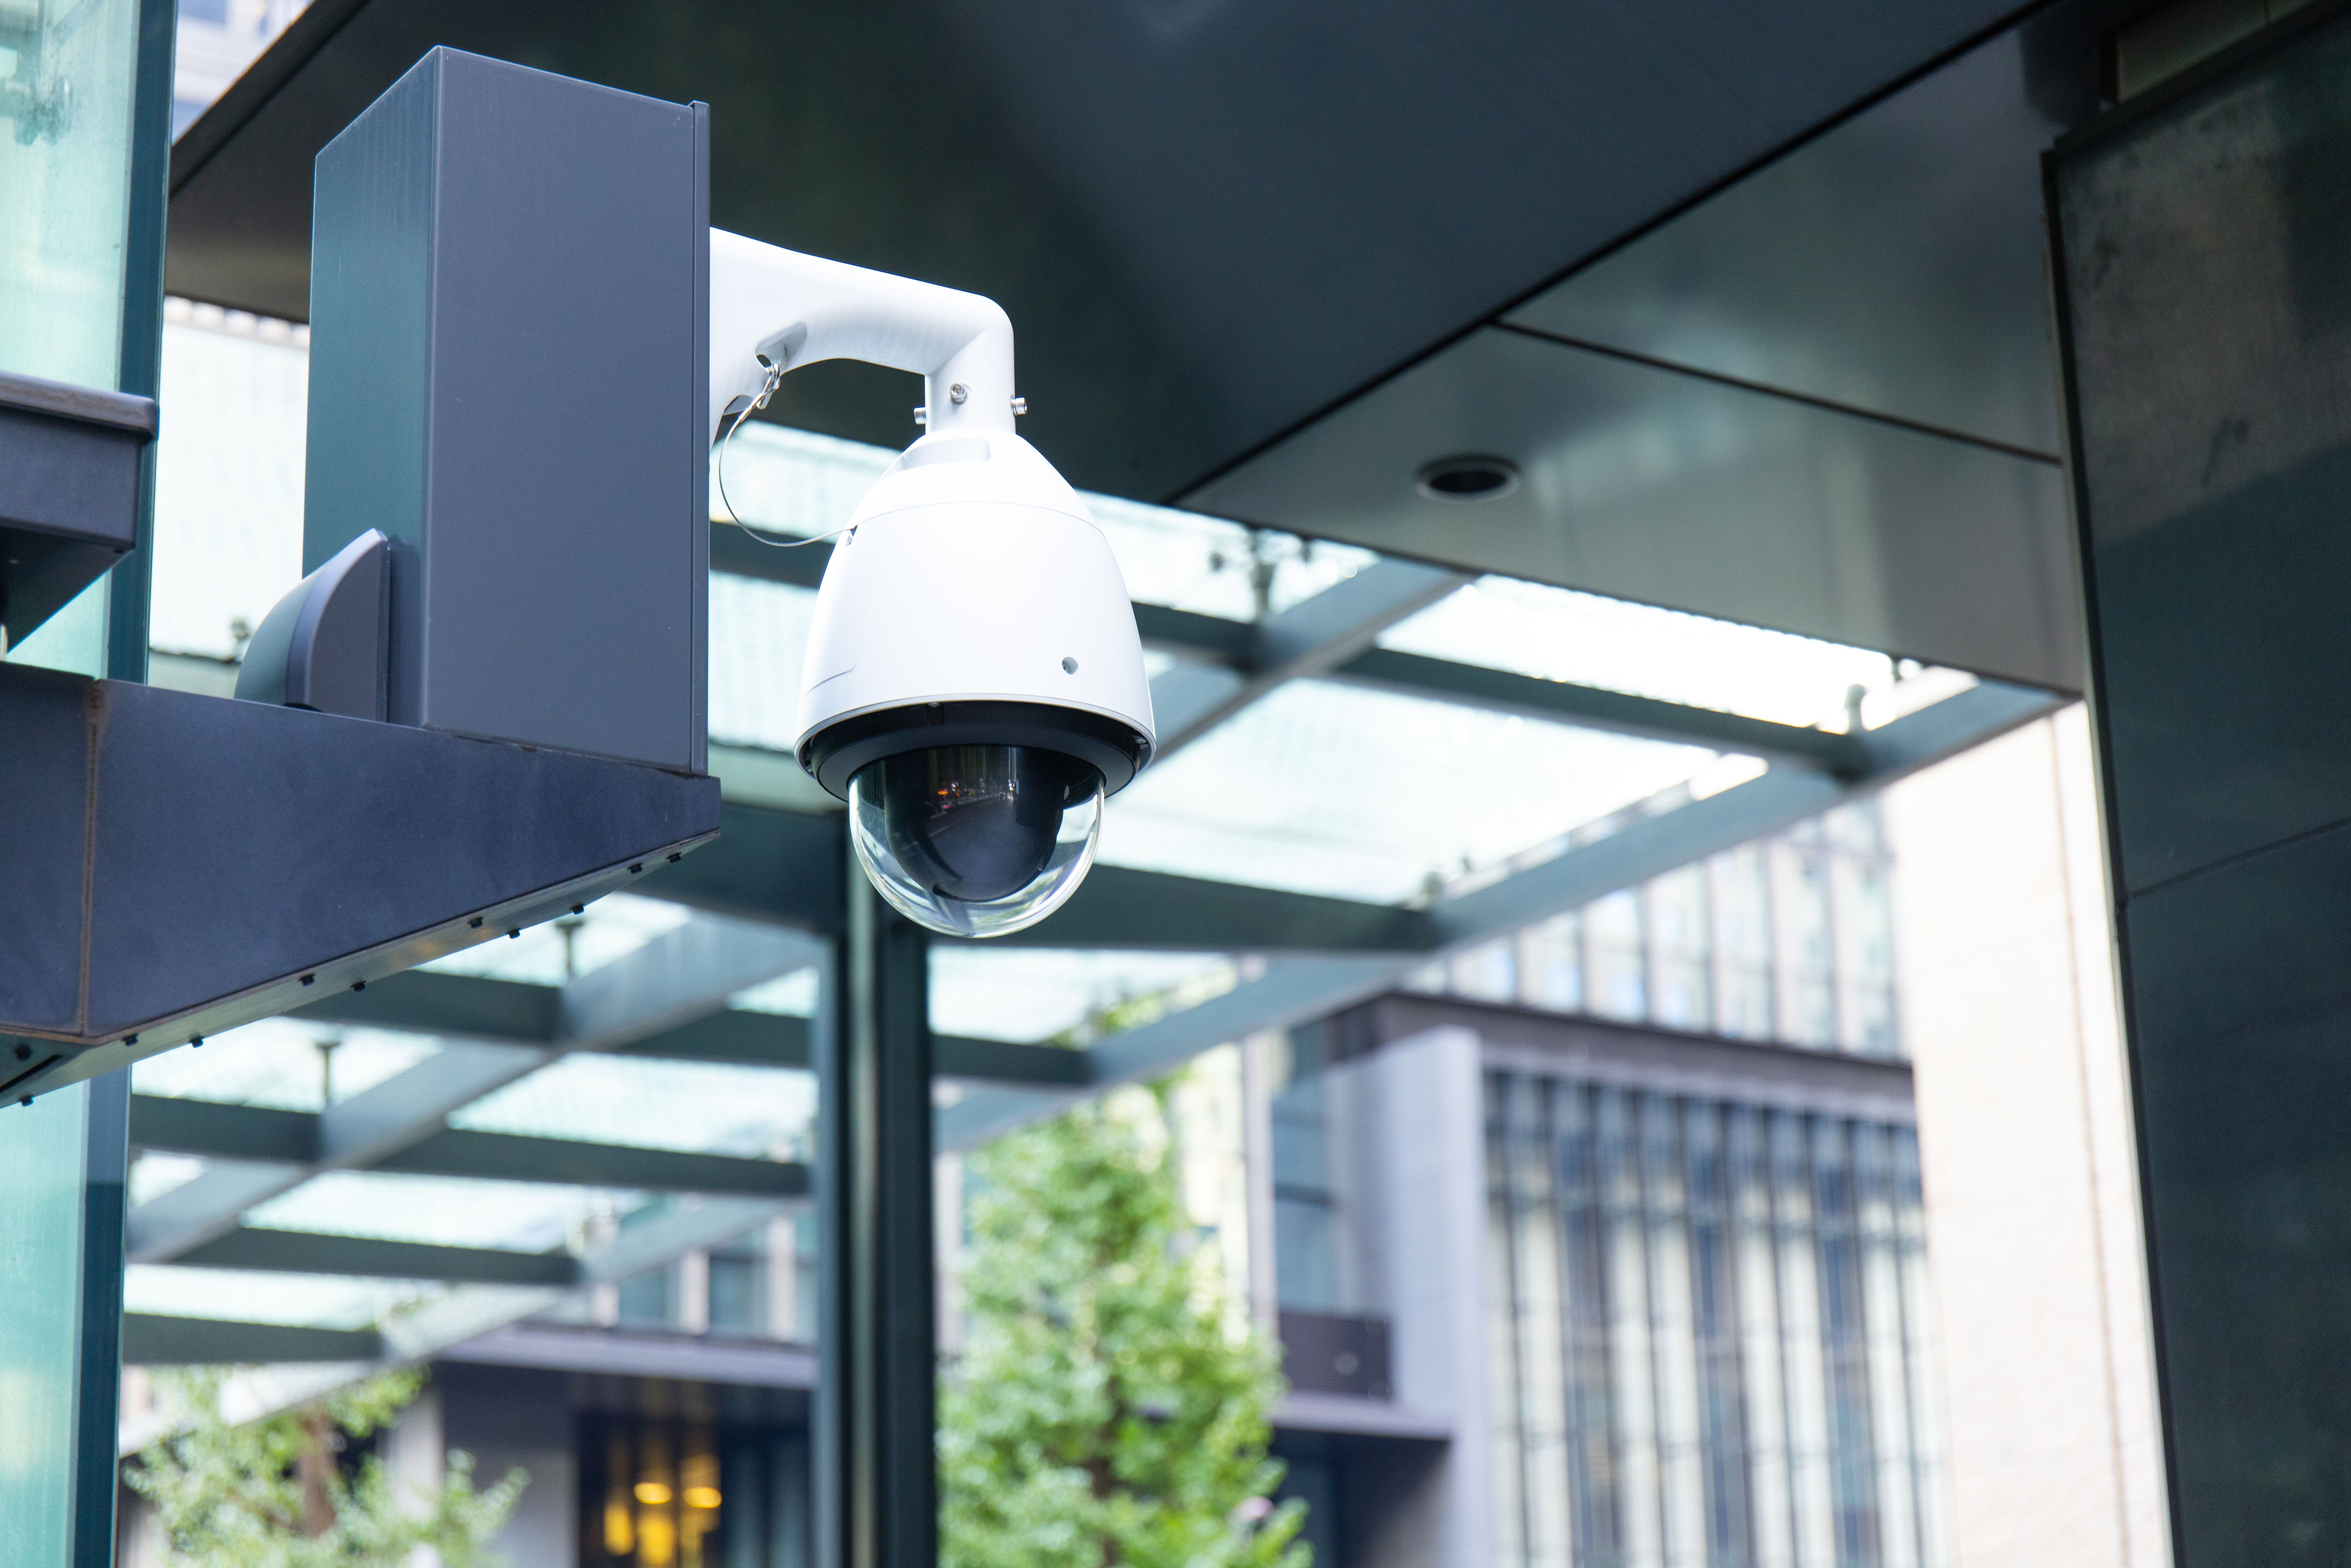
Choosing the Right Security Camera
Before embarking on your installation journey, it's crucial to choose the right type of security cameras that fit your needs. Consider factors such as indoor vs. outdoor use, wired vs. wireless, and the camera's resolution. Higher resolution cameras provide clearer images, which can be vital in identifying intruders.
For outdoor use, ensure the cameras are weatherproof and equipped with night vision capabilities. Wireless cameras offer more flexibility in terms of placement but may require more frequent battery changes.
Planning Camera Placement
Strategic placement is key to maximizing the effectiveness of your security cameras. Common areas to consider include entry points such as doors and windows, driveways, and garages. Make sure the cameras cover blind spots and are out of reach from potential tampering.
Tools and Equipment Needed
Before you start, gather the necessary tools and equipment. You will typically need a drill, screws, anchors, a ladder, and a screwdriver. If you're installing wired cameras, you'll also need cables and a power source.

Installing the Cameras
Once you have your tools ready, it's time to install the cameras. Follow these steps for a smooth installation:
- Mark the spots where you want to install the cameras.
- Drill holes for the mounting brackets.
- Secure the brackets using screws and anchors.
- Attach the cameras to the brackets and adjust the angles as needed.
If using wired cameras, ensure the cables are neatly tucked away to prevent accidents and maintain a tidy appearance.
Connecting and Setting Up
After the physical installation, it's time to connect the cameras to your home network. Follow the manufacturer's instructions to connect each camera. Most modern cameras allow you to connect them via a smartphone app, making the process straightforward.

Testing and Troubleshooting
Once everything is connected, conduct a test run. Check each camera's feed to ensure they are capturing the desired areas. Adjust angles and settings as necessary. If you encounter any issues, consult the troubleshooting section of the camera's manual or contact customer support.
Maintaining Your Security System
Regular maintenance is essential to ensure your security system functions optimally. Check camera lenses for dirt or obstructions and clean them as needed. Test your system periodically to make sure everything is working correctly.
By following this guide, Elkins Park homeowners can enjoy enhanced security and peace of mind knowing their property is under surveillance. With a little effort, your DIY security camera installation can provide long-lasting benefits.